7 Simple Steps For Winterizing Your RV in Snow & Frost
As an RV owner, what have you done to prepare for the cold winter to best protect your vehicle?
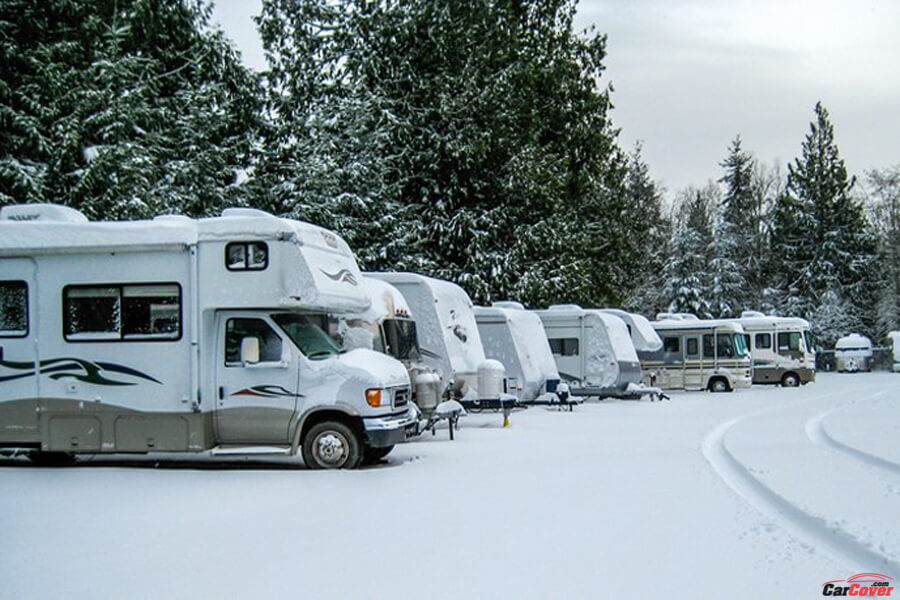
In the American winter, almost every state is covered with thick snow. That's why people seem to stop all traveling and camping activities to keep warm at home. For RV owners, they will need methods to keep their vehicles winterized so that they can operate well when winter ends. Water, fluid, and fuel systems are issues that need to be addressed to avoid freezing in the RV's system.
Why is Winterizing Your RV Important?
Before learning the detailed steps to winterize an RV, let's clarify why winterizing an RV is so necessary.
All vehicles if not used for a long time will have many problems, and especially when winter comes, it will seriously damage the RV.
When the temperature drops, liquids, water, and fuel will freeze and expand, breaking pipes or sticking to the system wall, causing rust or blockage. This sounds simple but it costs a lot of money to repair for the next use.
Besides, with long winters of non-use, if the RV is not carefully prepared, mold will accumulate and affect the equipment inside the vehicle. Imagine the unpleasant smell that will come out when you open your car door for next spring.
In short, preserving your RV by winterizing is a necessary way to protect your property value and save money for repairs next spring.
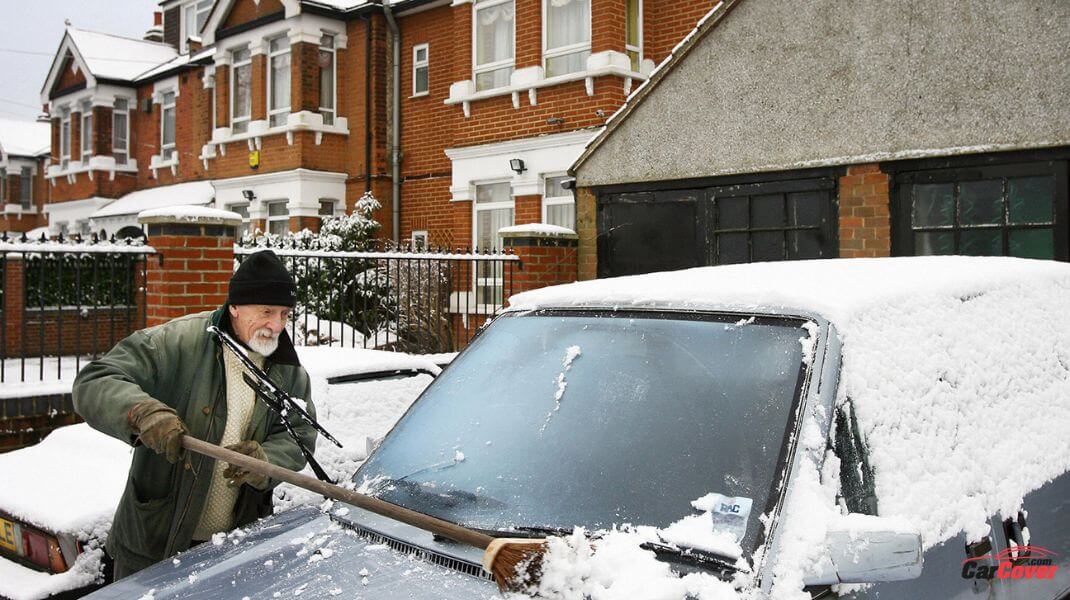

Detailed steps for winterizing an RV.
Winterizing an RV is actually not as complicated as you think. If you understand the steps, they will feel really simple.
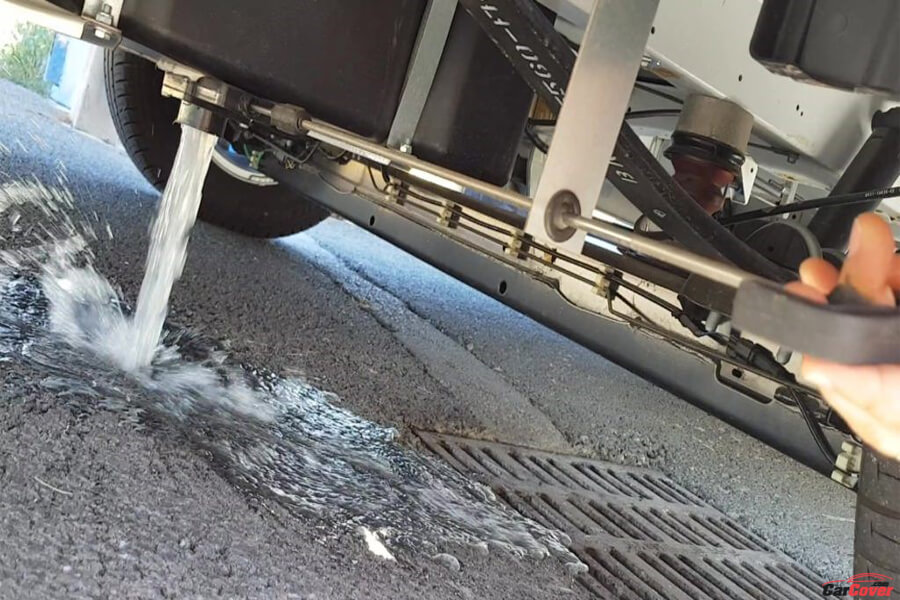
Step 1. Drain all internal water systems.
The first step in winterizing your RV is to drain all the water from the vehicle. RVs are cars that are likened to a mobile home, they have all the necessary amenities such as toilets, hand sanitizer, and drinking water. When winter comes, these water sources will quickly freeze. Not only do they clog the pipes, but when the weather is cold, they will expand and burst the car's water pipes. So, to avoid spending money on installing new pipes next spring, drain all the water in the car. From cold water to hot water, even backup drinking water. In winter, water is completely unnecessary, so removing it is a smart way to keep your car intact.

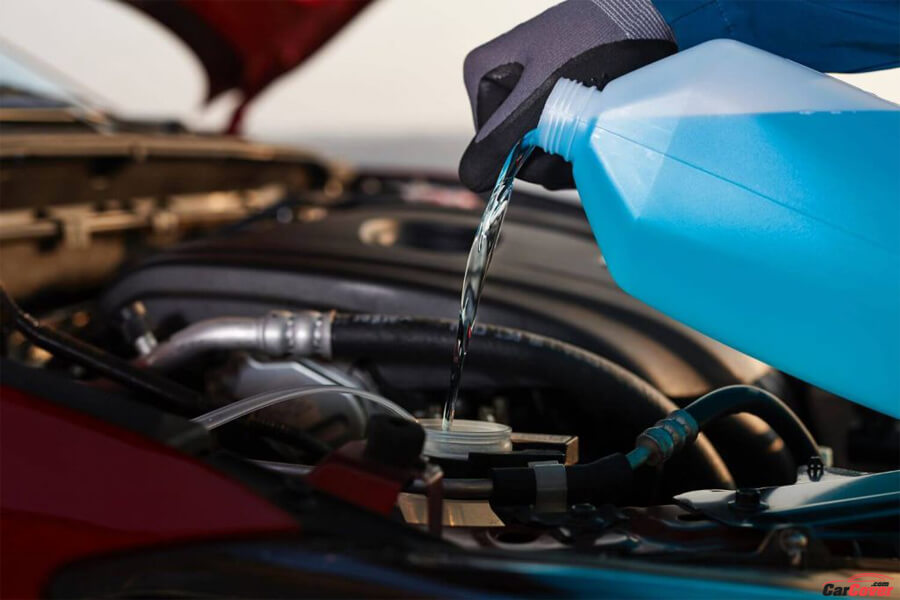
Step 2: Add Antifreeze to the Plumbing System
After all the water pipes are flushed out, the next step is to use antifreeze to protect the water pipes from remaining water or fog. A little steam or mist can freeze and break the tube wall if there is no way to deal with it. Be careful when using antifreeze, use a funnel and water pump until it flows evenly into the pipes to avoid shortages at some points. Toilets and showers are no exception

Step 3. Clean and remove unnecessary items.
Any debris or food waste left in the RV for a long time causes unpleasant odors and create the enviroment for mold to growth, and can even corrode and cause rust to the vehicle's equipment. Therefore, create a spacious and clean space by removing excess products such as garbage, food, equipment such as blankets, pillows or clothes to avoid leaving unpleasant odors in the car throughout long winter. After removing unnecessary items, use a towel to wipe the inside of the vehicle to avoid dust and liquid accumulation that will affect your RV.
Also may you like Ultimate Guide: 9 Way To Choosing Correct Your RV

Step 4. Lock all exits including windows and doors.
The next step in winterizing your RV is to lock down the exits to prevent rain or fog from entering at night. They may sound harmless, but they have a significant impact on your RV. Doors and windows are places that need to be locked tightly. In addition, it is necessary to seal vents, fans, leaks or air conditioning windows. Each open position can create conditions for bad agents to form.
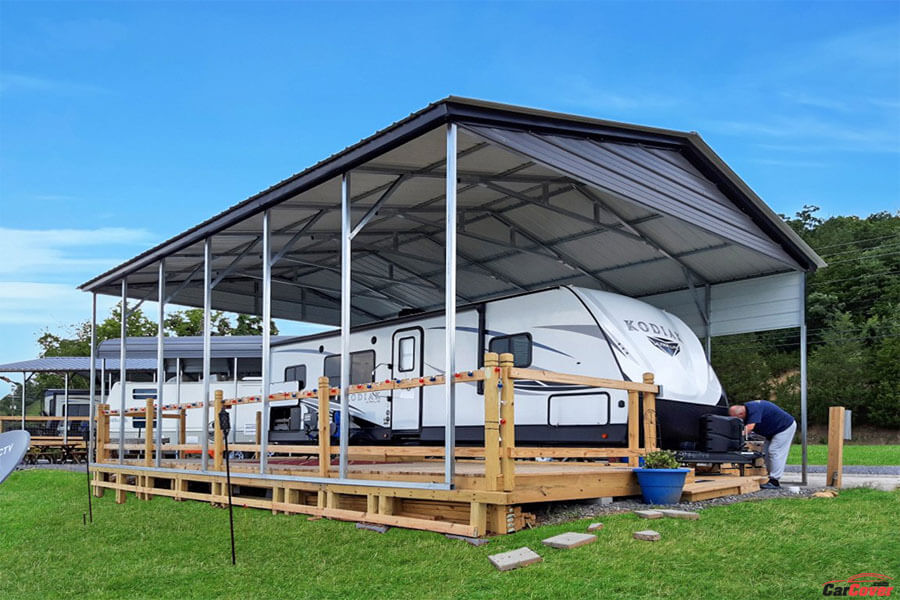

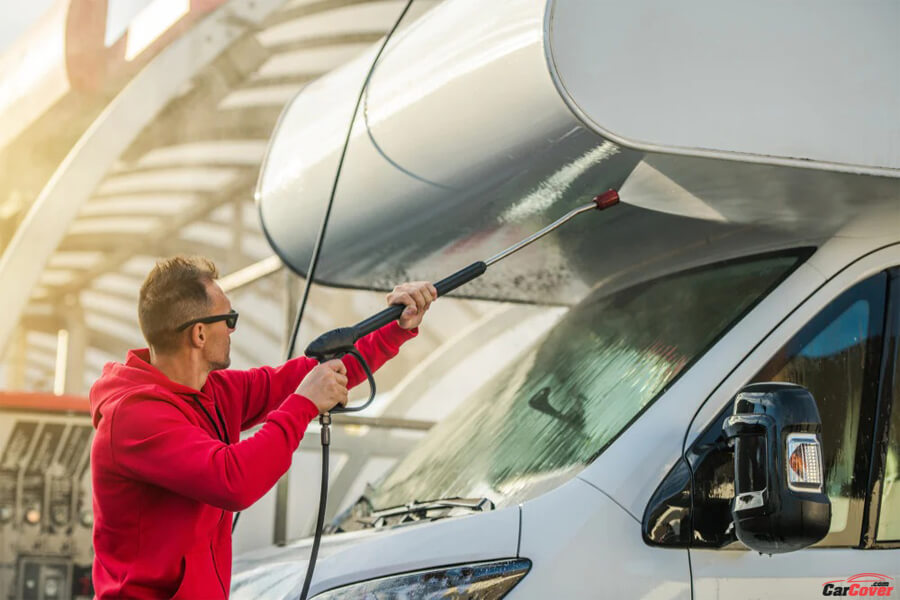
Step 5. Clean and inspect the outside of the car.
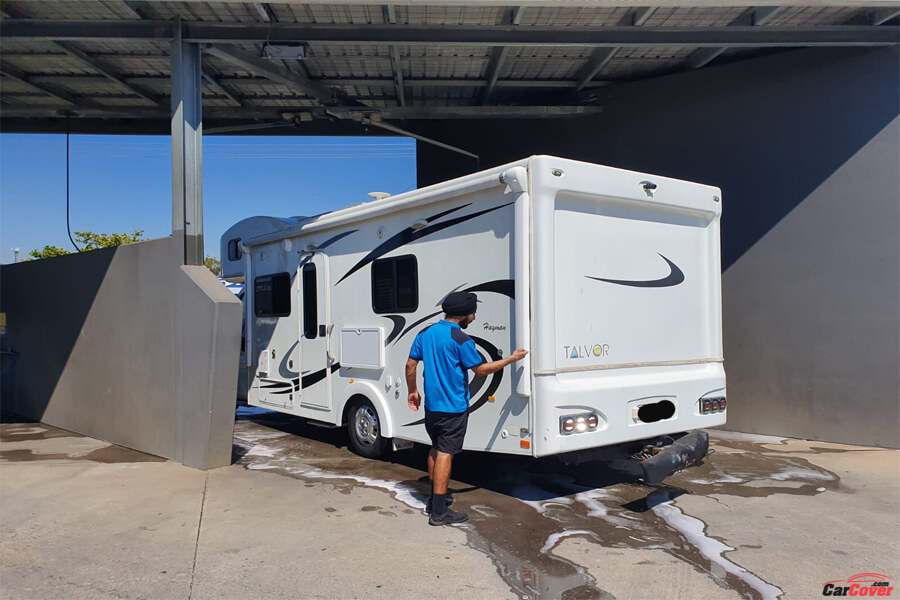
Once everything inside the rv is complete, the next step in winterizing the RV is to clean and inspect the RV's exterior. Remove dirt, dust, stains, and plaque on the car's surface to ensure they do not affect the car's coating as well as its aesthetics. After cleaning the car's surface, check the outside of the car and on the roof. Are there any problems? If so, fix them immediately to avoid damage during winterization of the RV.

Step 6. Check the battery
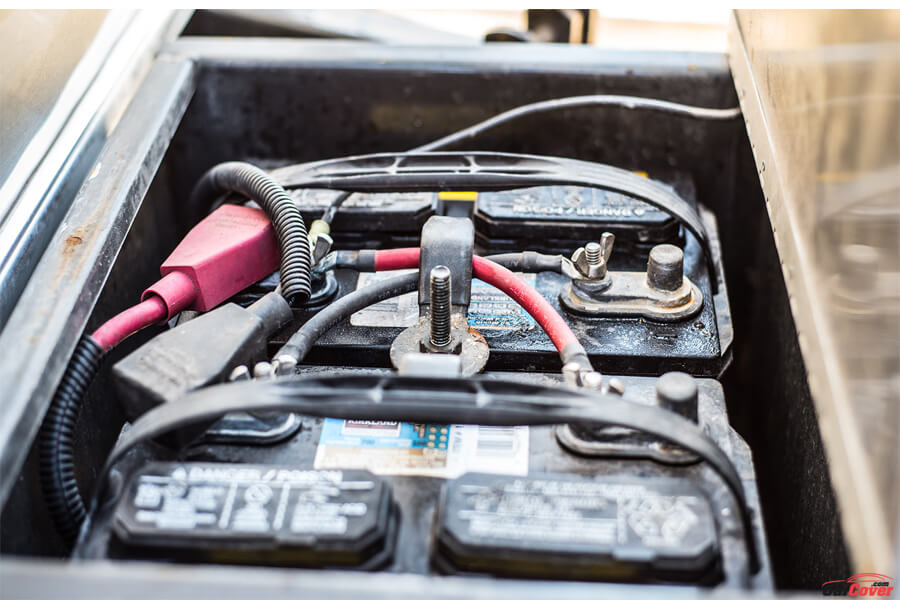
The battery is a device that maintains the operation of the vehicle's electrical system. Therefore, battery preservation also plays an important role in winterizing the RV. Check the battery with a battery meter, disconnect the battery, clean the battery and then fully charge them before storage to avoid loss during long-term storage. Store them in a cool, dry place. This will help prolong their lifespan and ensure they're ready to go when you start using your RV again.
See more Instructions For Quickly Repair A Broken Car Battery

Step 7. Cover the RV
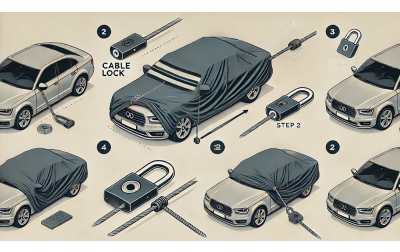
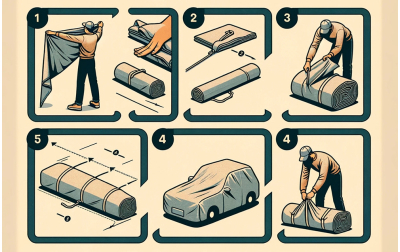
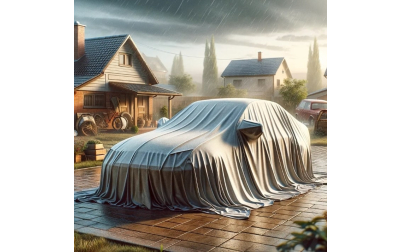
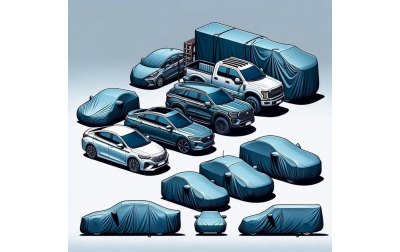
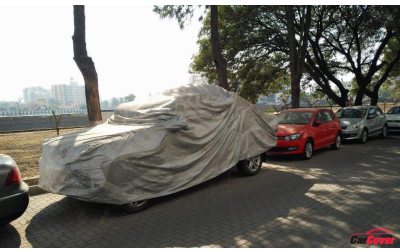
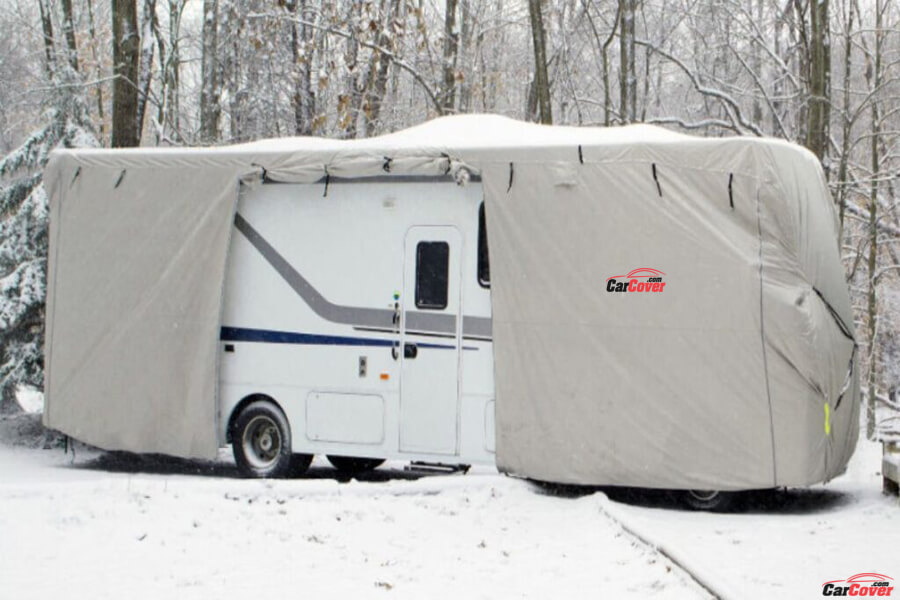
The final step in winterizing an RV is to apply the cover once all matters are completed. This step plays an important role in ensuring that the vehicle is absolutely protected for a long time. RV car covers not only prevent the formation of dirt on the vehicle's surface, but also prevent fog, rainy, ultraviolet rays and winged insects from nesting on the vehicle. In addition, rv car covers also reduce the possibility of scratches due to collisions or impacts from pets. RVs are valuable and highly applicable assets, so don't hesitate to invest in a quality cover to prevent negative external factors from affecting the vehicle.

Some things to note when winterizing an RV.
- The appropriate time to winterize an RV is before the apperance of snow. That means before temperatures drop to freezing. At this time, all activities take place more smoothly and quickly. If you wait until the snow covers the car's surface before winterizing, it will take a lot of time to clean and clear the vehicle. In addition, it also has difficulty draining the water in the pipe because the water is frozen at this time.
- Tires are the place of contact and balance between the vehicle and the ground. So, make sure your tires are always in good condition. The pressure in the tire should not be too high and should not be low either. Use a tire pressure gauge to check to limit unnecessary risks.
- The parking area is clean and airy to avoid rodents and collisions. Besides, the parking surface is flat to protect the tires and brakes well.
- Regularly check the vehicle's condition to identify problems such as shifting covers or blown out windows, etc. Any problems that occur need to be handled immediately to avoid unfortunate consequences.
Also may you 10 Steps To Change A Spare Tire And Important Notes To Know

Conclusion
Winterizing an RV is an important process to protect the vehicle from damage during freezing winters. By following all the steps above, your RV will be protected and kept in beautiful, clean condition for next spring's adventure. It's troublesome if you have to spend a large amount of money on repairs every winter that passes. Spend that money on trips to explore nature by following the 7 steps above to winterize your car. Wishing you and your family a warm and peaceful winter.

